the continuing saga of Roof
Jan. 30th, 2020 04:56 pm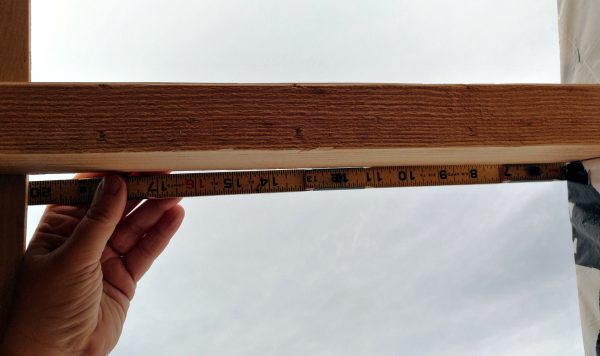
Because of the rafters, I needed more than sixteen feet of roof. To be precise, as seen above, I needed sixteen feet & 20.5 inches of roof, so that’s what I cut.
That piece went on the back section of the roof, & the rest of that sheet of plywood went along the side, which is enough to cover nearly the entire roof.

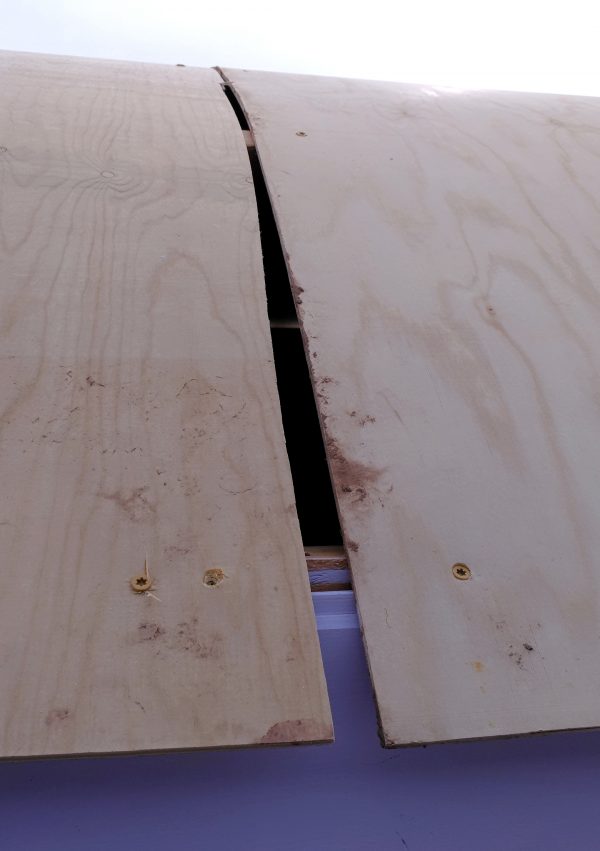
There’s just a bit of a gap left in the middle. I’ve got enough thin plywood to cover that up, but that’s got to wait a while, because right now, that’s the only way I can safely get on & off the roof.
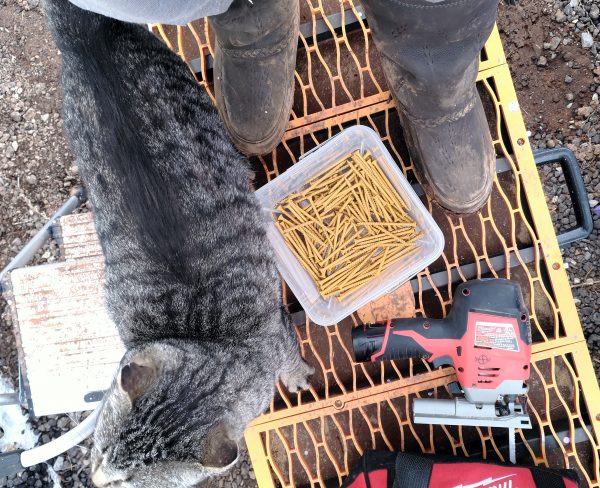
I had to go round to the other side & screw down the bottom edge of that board, as before. Tom helped.
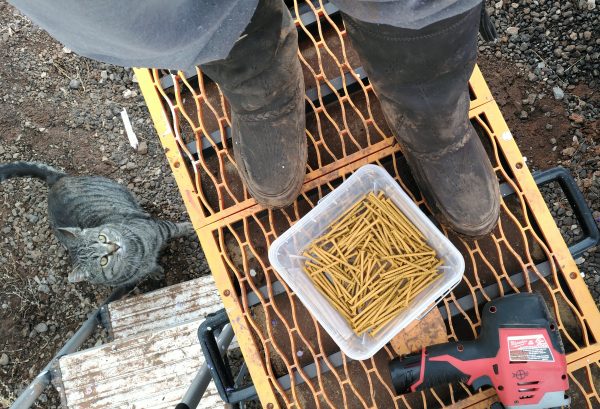
Or maybe he just wanted a Love.
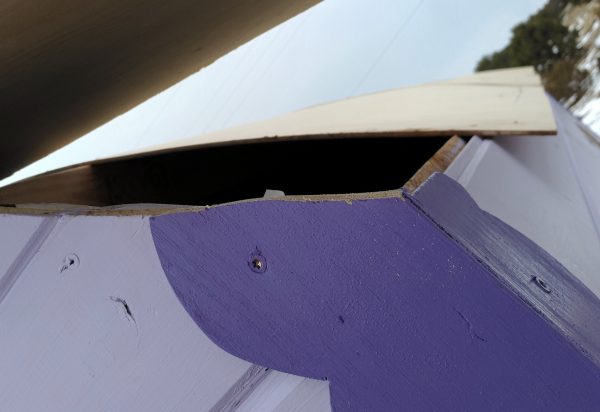
Of course nothing quite fits like it’s supposed to — that’s how the world works, & also, I can’t cut a straight line — so this needed to be trimmed down before I could fasten the roof at that corner.
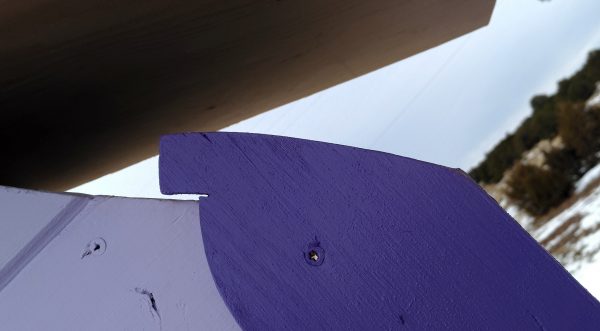
That’s okay, to misquote Grimjack. I’ve got another saw.
Did I mention I can’t cut a straight line? Cos I can’t cut a straight line. This is lined up.
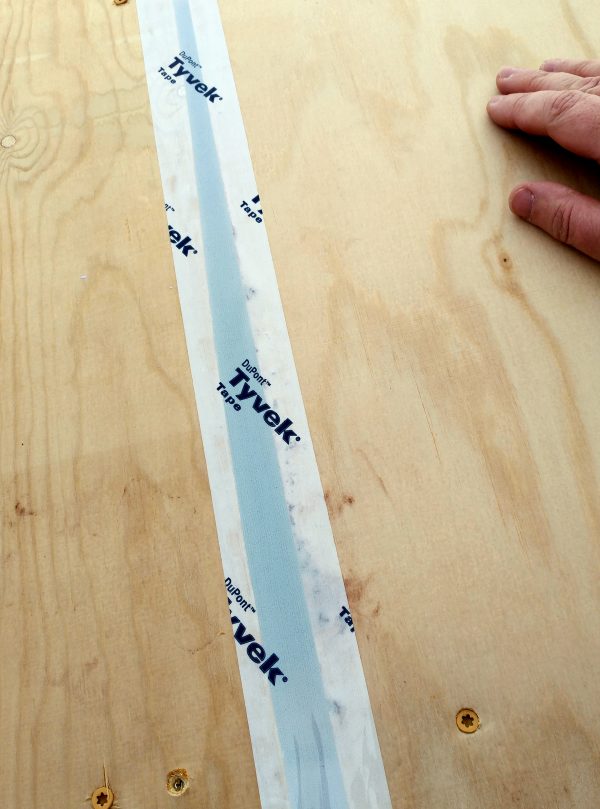
This is, also, why I’m glad I bought three rolls of Tyvek tape. I was gonna be taping all of the gaps between boards anyway.
The view from inside. Roof!
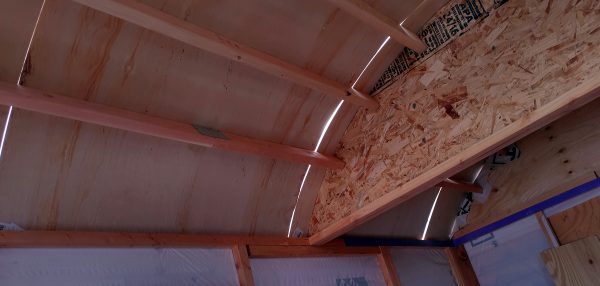
With bonus skylight!

Next up, I’ll be coming up with a way to fasten down the bit where the plywood overlaps, taping up the rest of the gaps, & covering the entire roof with housewrap. Then, napping.
This was posted originally to my Patreon, a little over a week ago.
If you want to see these posts sooner, & not incidentally help support me & my cats in our travels & such, the way to do that is to sign up as one of my Patrons for as little as a buck a month.
I’d REALLY like that.
originally posted on Patreon; support me over there to see posts a week early!
no subject
Date: 2020-01-31 02:09 am (UTC)I know I have that problem, plus the fact that my workshop is on a four foot plinth of ground on three sides, so just getting level with the roof takes the longest ladder I've got. Hence, the easiest point of access is from the inside.
Hm, skylight on a hinge perhaps with yours?
no subject
Date: 2020-01-31 02:19 am (UTC)... I am SO tempted to turn it into a skylight. If I thought I had half a chance of making it watertight ...
no subject
Date: 2020-01-31 02:35 am (UTC)Build a frame that is about 2-3 inches wider and longer than your hole, out of 2x1 with one on the edge and one nailed to it flat so it makes a sort of L shape in cross section. Slot poly carbonate or glass into that. Apply copious amounts of silicon calking. Then nail another layer of 2x1 ontop so you sandwich the glass or poly carb in a square C shape.
Then build a frame of more 2x1 that fits inside of the hole, nailed to the roof and projecting up by the inside depth of your skylight. Apply sealant to the outside of that to fill gaps between frame and roof. Thus you have slight projection all the way around and a skylight that fits over the hole. [and water doesn't run uphill usually]
The complicating factor I can see however is that you have a curved roof. So you'd need to build a square box to project through the roof. I suspect you need to do something with battans and plywood to essentially make box open at each end, with the skylight screwed to that and capping it.
But I built basically that so I could get up through the front half of my workshop roof and access the solar panels if necessary, or just let a breeze blow though when the forge is running.
no subject
Date: 2020-01-31 02:40 am (UTC)no subject
Date: 2020-01-31 02:50 am (UTC)BTW, what are you using to saw with? because if it's a jig saw you can cut straight line by holding/screwing down a sight edge [plank, ruler] amd resting the side of the foot plate against that. You just have to off-set it from the line you want to cut by half the width of the metal foot plate. [I got sick of wonky cuts too!]
no subject
Date: 2020-02-01 12:51 am (UTC)no subject
Date: 2020-02-01 01:12 am (UTC)no subject
Date: 2020-02-01 02:01 am (UTC)no subject
Date: 2020-02-01 02:06 am (UTC)Once I'm done with them, I'll bolt them together and make a picnic table for the patio.
no subject
Date: 2020-01-31 02:56 pm (UTC)no subject
Date: 2020-02-01 12:51 am (UTC)no subject
Date: 2020-02-05 04:51 am (UTC)no subject
Date: 2020-02-05 04:55 am (UTC)no subject
Date: 2020-02-05 05:02 am (UTC)no subject
Date: 2020-02-05 05:08 am (UTC)no subject
Date: 2020-02-01 02:07 am (UTC)no subject
Date: 2020-01-31 03:44 pm (UTC)no subject
Date: 2020-02-01 12:52 am (UTC)no subject
Date: 2020-02-03 02:42 am (UTC)no subject
Date: 2020-02-03 04:03 am (UTC)